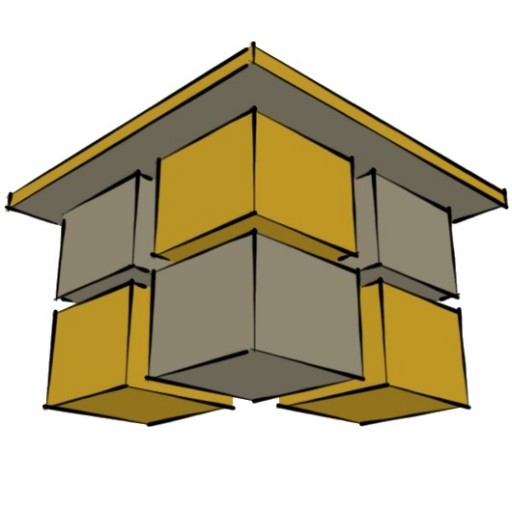
Most people can never get enough storage space. A garden storage shed is the simple solution to adding more storage for an overflowing garage or simply a great way to add a private office or retreat in the back yard. Figuring out the steps to building a shed is not always simple when reading they many articles posted on the internet on shed building because it is one thing to read a step and another to see the steps. Today we decided to draw the steps to building a shed and post them so you can easily see them. Like the famous saying goes “a picture is worth a bunch of words”. So if you are considering building a shed and wondering where to start then have a look at these steps and then cruise on over to Icreatables Building A Shed page for more information including Shed Plans, shed ideas and a great How To Build A Shed Tutorial. This article describes how to build a simple 8ft. x 12ft. wood shed. The plans for this shed are at 8×12 Gable Shed.
Planning: The first step to building a shed is the planning of the shed building project. The steps to planning a shed include:
- Calling the local building authority and asking about rules relating to building a shed in your neighborhood
- Calling your home owners association if applicable
- Determining your size requirements
- Budget, how much do you want to spend?
- Design of the shed
- Cost breakdown, materials list and pricing of all the pieces. This can be obtained from your local lumber yard or home store.
- What do you want it to look like? and what plan will you use
- Location of the shed on your property.
Construction: After planning the shed you will start building it. Since this is what this article is about we will get right to it.
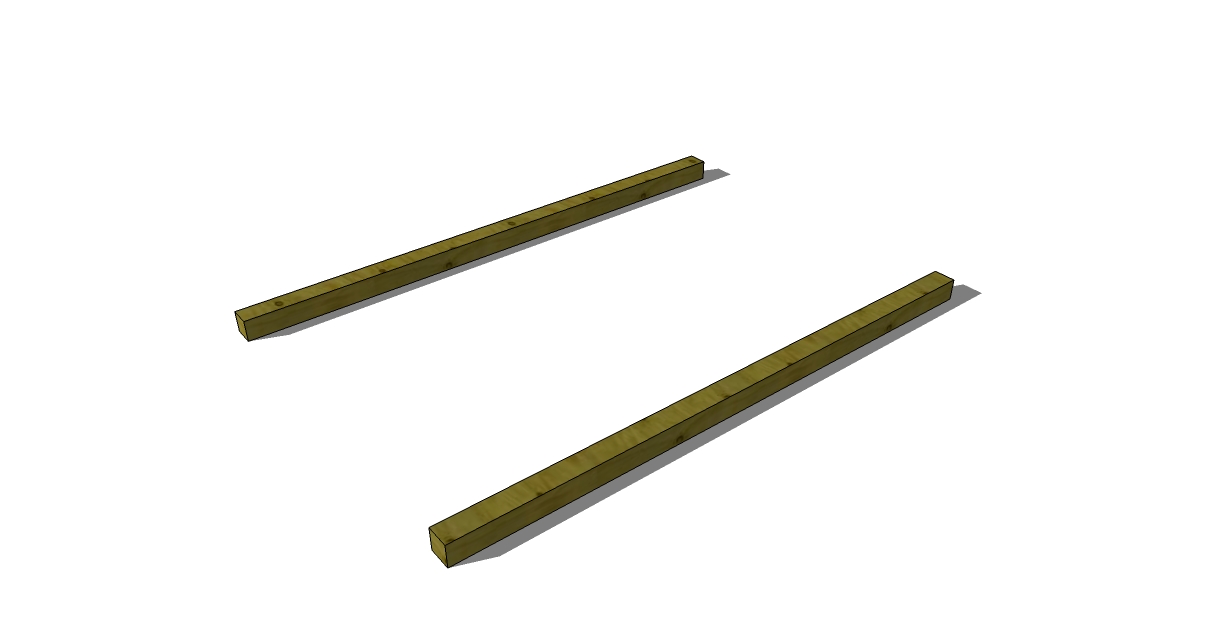
Foundation: This article will assume you are building a shed with a wood rail foundation since that is a very common type of construction. For a small to medium sized shed 2 -6×6 pressure treated wood rails on top of 2 inches of 1/2″ gravel makes a great foundation. Make sure they are level and spaced evenly. It is recommended to put 2 inches of gravel under the whole shed to keep weeds down and make it less inviting for bugs and pests to make a home.
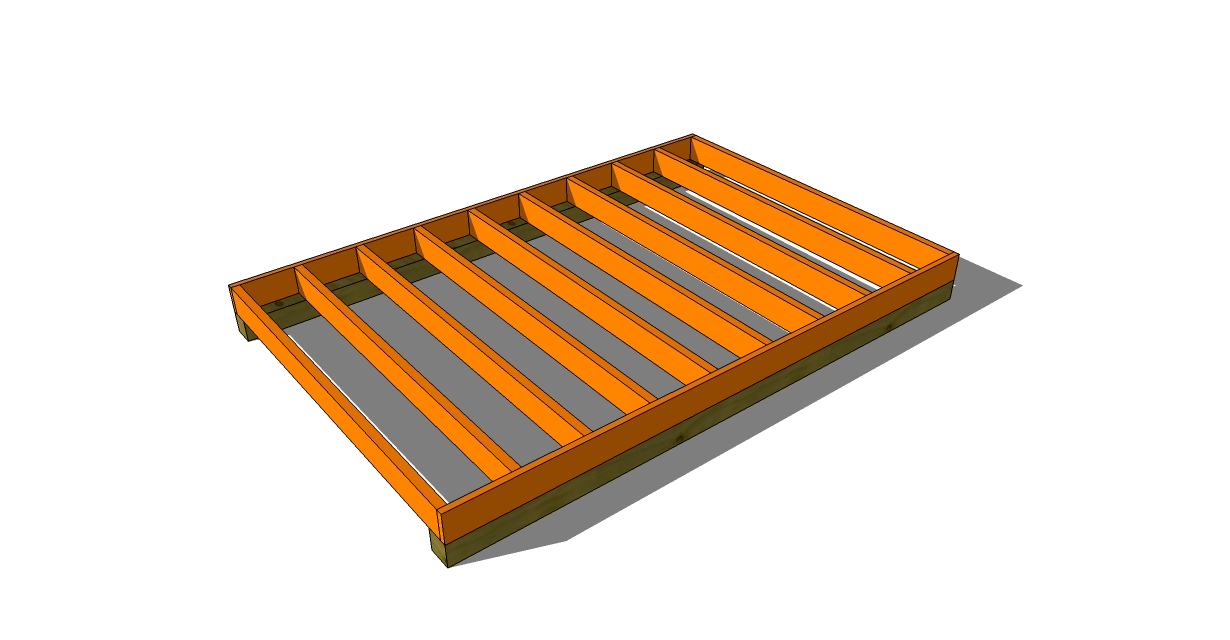
Frame The Floor: The floor of our shed is made from 2×8 lumber. The floor joists are laid out at 16″ on center with a 2×8 rim joist at the ends
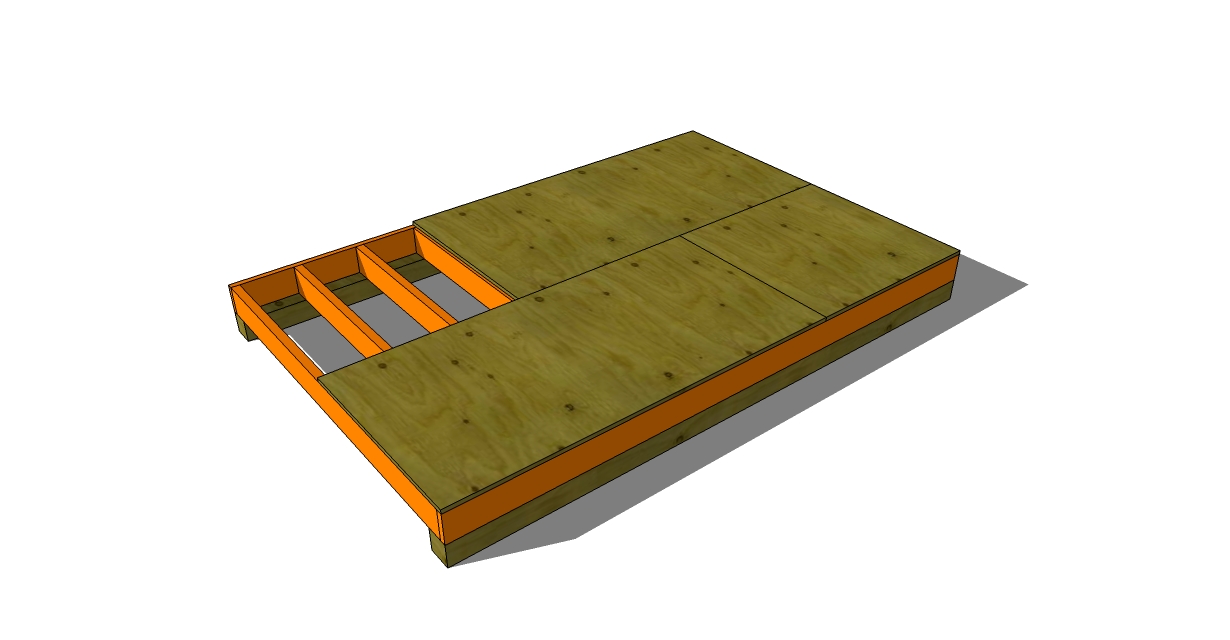
The floor sheeting is 3/4″ tounge and groove Oriented Strand Board. The sheeting is staggered to increase the strength of the floor.
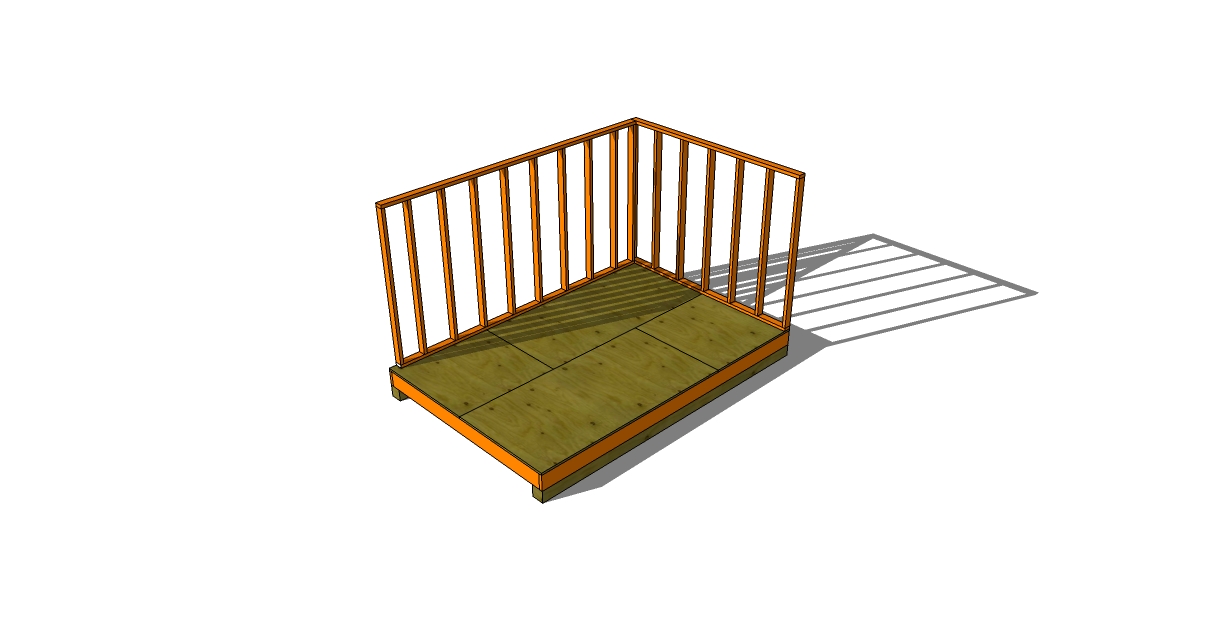
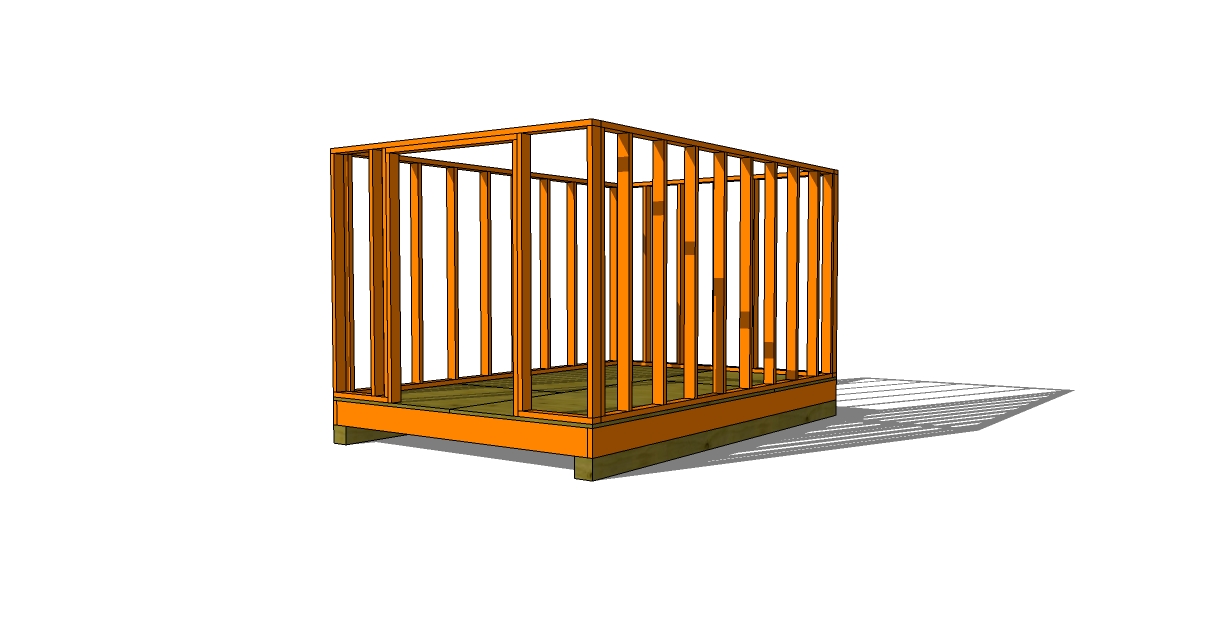
Frame The Walls: After the floor is framed it is time to build the shed walls. I build the end walls first because they go from the edge of the floor to the other edge of the floor. This means that they will be a full 8′ wide. After the end walls are built then I build the side walls. The side walls go in between the end walls so they will need to be 7 inches shorter than the length of the side of the shed. For illustration purposes I drew a side and end wall first and then drew all four shed walls framed. When you build a wall you will make sure it is perfectly square and then apply the siding to keep it square. The siding installation is out of sequence in these drawings.
The end sheeting is installed as full sheets and then cut off to match the angle of the roof trusses.
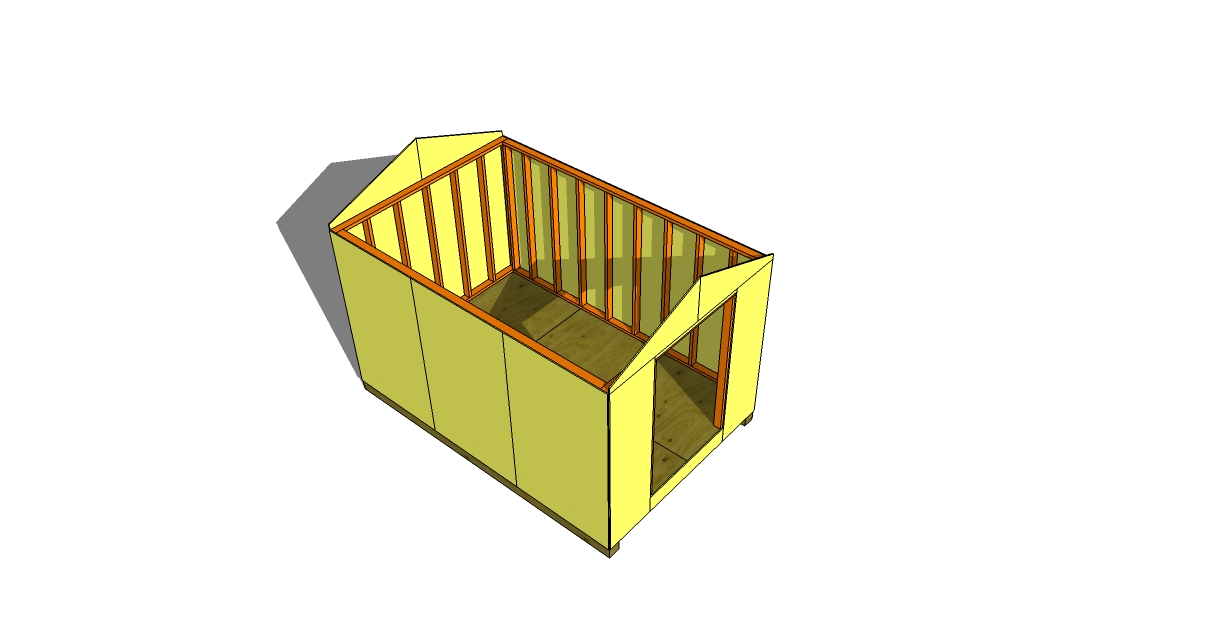
Roof Trusses: After the walls are sheeted and stood up it is time to put on the roof trusses. The shed trusses are built on the floor of the shed and then placed on the top of the wall plates. They are spaced at 24 inches on center. The truss eves get capped with a 2×4 board to tie the trusses together.
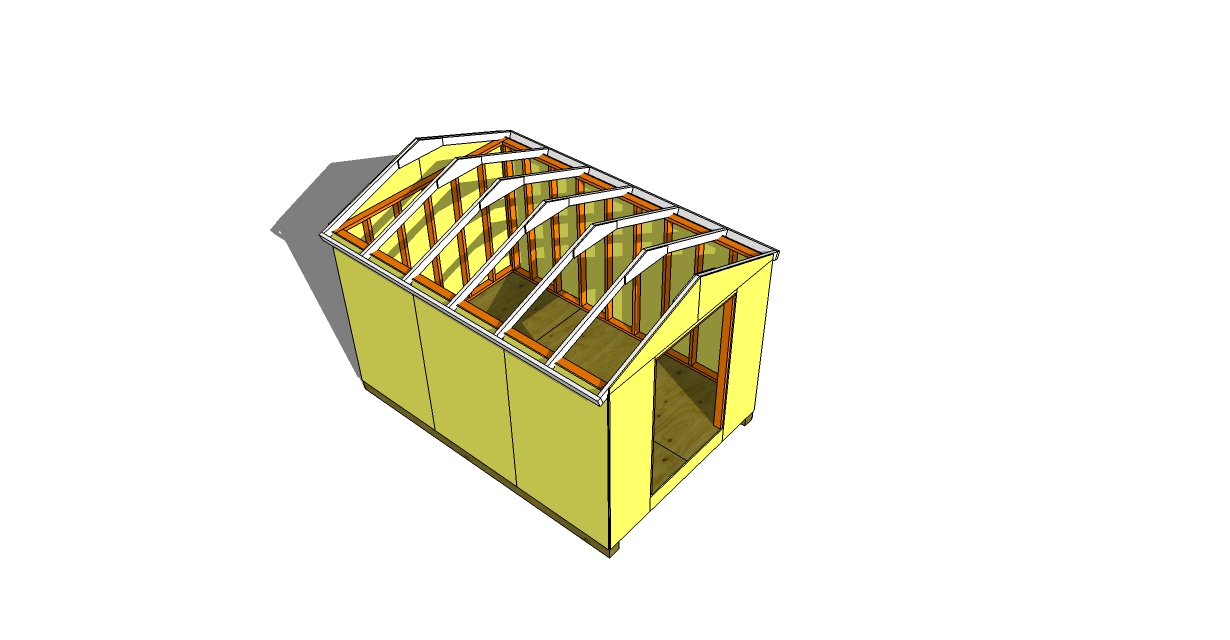
Sheet The Roof: The roof gets sheeted with 1/2″ or 5/8″ Oriented Strand Board. The sheets are staggered to increase the strength of the roof.
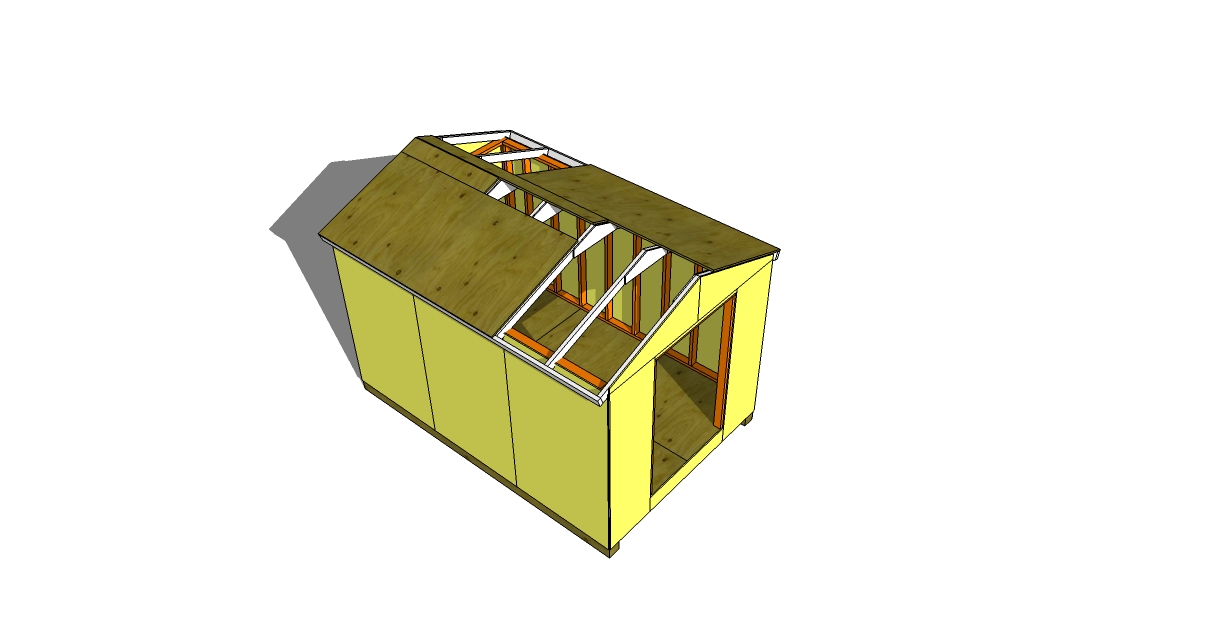
Build The Shed Door: The shed door is built to fit the opening that was framed in the wall. It is built now so that it can be trimmed with the rest of the shed.
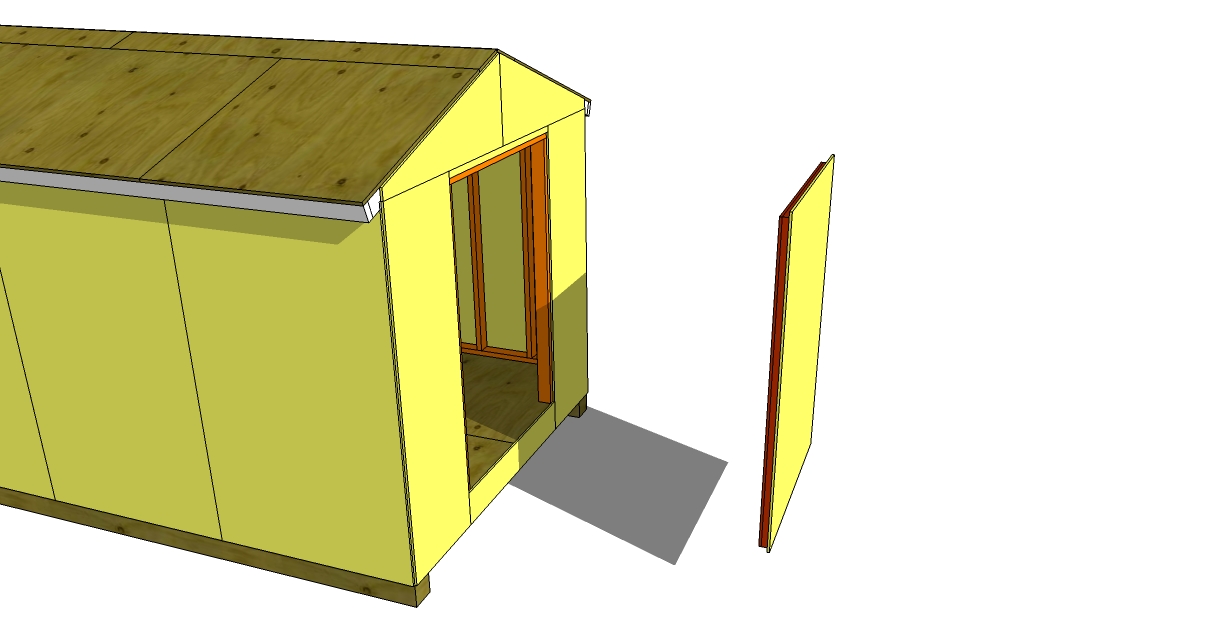
Install The Trim Boards: Trim boards are usually a 1/2″ x 3″ and 1/2″x5″ boards made for exterior trim. The trim boards are installed on the roof eves and rakes and then all the shed corners. Finally the door and the soffits are trimmed.
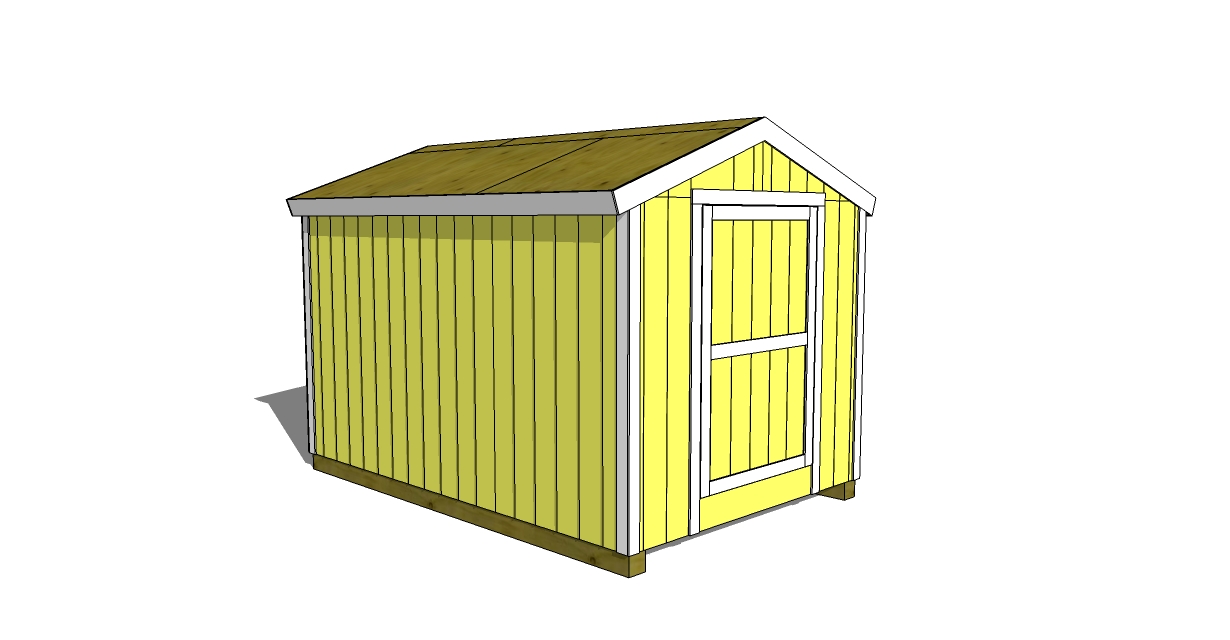
Install The Roofing: Install 3olb. roofing felt on the roof sheeting and then install 3 tab roofing shingles. Shed roofs are small so the roofing job usually goes quickly.
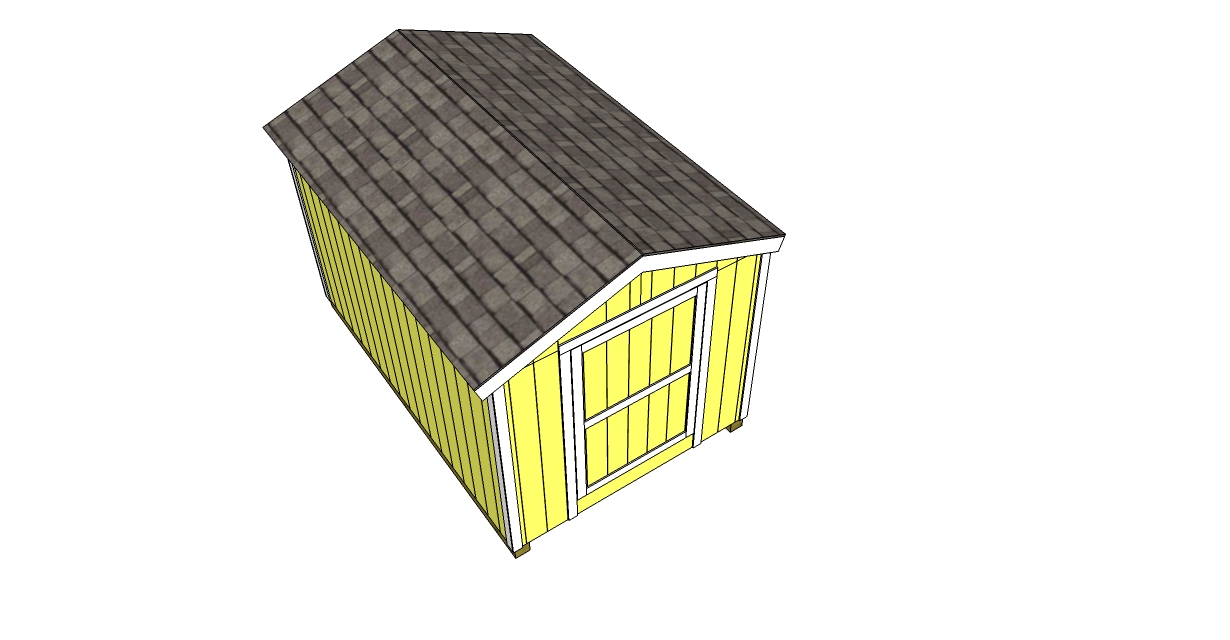
Build A Ramp: The floor joists make the shed floor higher than the ground so you will want to build a ramp or stairs to make it easier to get in and out of the storage shed. A ramp allows you to easily push a lawn mower into the shed.
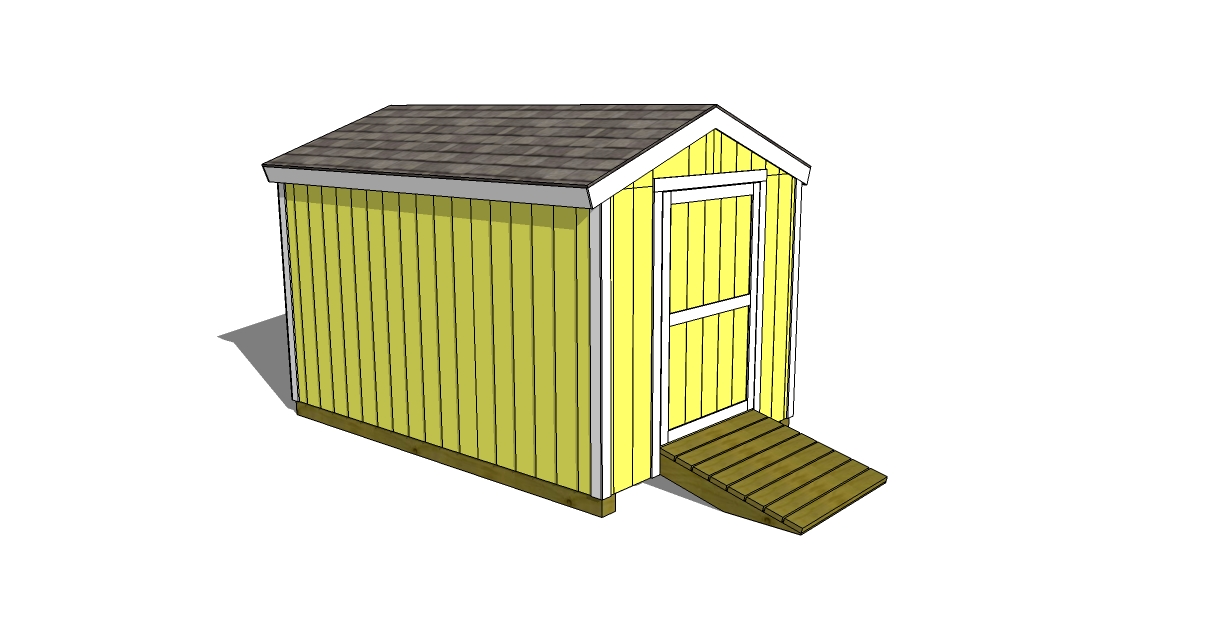
Paint The Shed: Pick your favorite color and start painting. Don’t be afraid to pick a bold color.
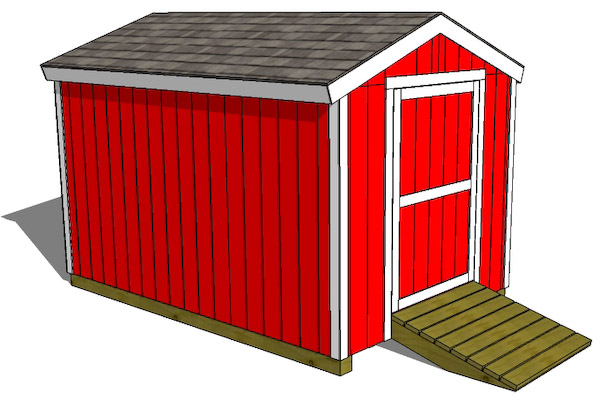
If you want to see more detailed instructions on the steps to build a shed then come on over to the website shed department and keep learning.
