SHOP BY STYLES
Backyard Shed Plans Barn Shed Plans Chicken Coop Plans Compost bin Plans Corner Shed Plans Detached Garage Plans Dog Kennel Plans Dormer Shed Plans Firewood Shed Plans Garage Shed Plans Garden Shed Plans Generator Shed Plans Greenhouse Shed Plans Hip Roof Shed Plans Horse Barn Plans Large Shed Plans Lean To Shed Plans Loft Shed Plans Low Income Housing Plans Metric Garden Sheds Modern Shed Plans Porch Shed Plans Run In Shed Plans Saltbox Shed Plans School Bus Shelter She Shed Plans Short Shed Plans Tiny House PlansSHOP SIZES
4x8 Shed Plans 4x10 Shed Plans 4x12 Shed Plans 6x6 Shed Plans 6x8 Shed Plans 6x10 Shed Plans 6x12 Shed Plans 8x8 Shed Plans 8x10 Shed Plans 8x12 Shed Plans 8x14 Shed Plans 8x16 Shed Plans 8x20 Shed Plans 10x10 Shed Plans 10x12 Shed Plans 10x14 Shed Plans 10x16 Shed Plans 10x18 Shed Plans 10x20 Shed Plans 10x24 Shed Plans 12x12 Shed Plans 12x14 Shed Plans 12x16 Shed Plans 12x18 Shed Plans 12x20 Shed Plans 12x24 Shed Plans 14x14 Shed Plans 14x16 Shed Plans 14x20 Shed Plans 14x24 Shed Plans 16x16 Shed Plans 16x20 Shed Plans 16x24 Shed Plans 24x24 Garage PlansSHED BUILDING VIDEOS
All Shed Building Videos Backyard Gable Shed Videos Lean To Shed VideosSHED IMPROVEMENT HOW TOO'S
Learn about Concrete, Electrical, Framing, Codes, Roofing, Solar and more!MORE SHED PAGES
Lean To Shed Ideas Office Shed Convert Shed Design Building A Shed How To Build A Home Shed Door Plans Build A Shed Ramp Eagle Scout Shed PlansHip Roof Shed Plans
8' Deep Hip Roof Shed Plans
10' Deep Hip Roof Shed Plans
12' Deep Hip Roof Shed Plans
 12x24 Hip Roof Shed Plans
14' Deep Hip Roof Shed Plans
16' Deep Hip Roof Shed Plans
 16x16 Hip Roof Shed Plans
5 Sided Corner Shed Plans
Hip Roof Shed Plans
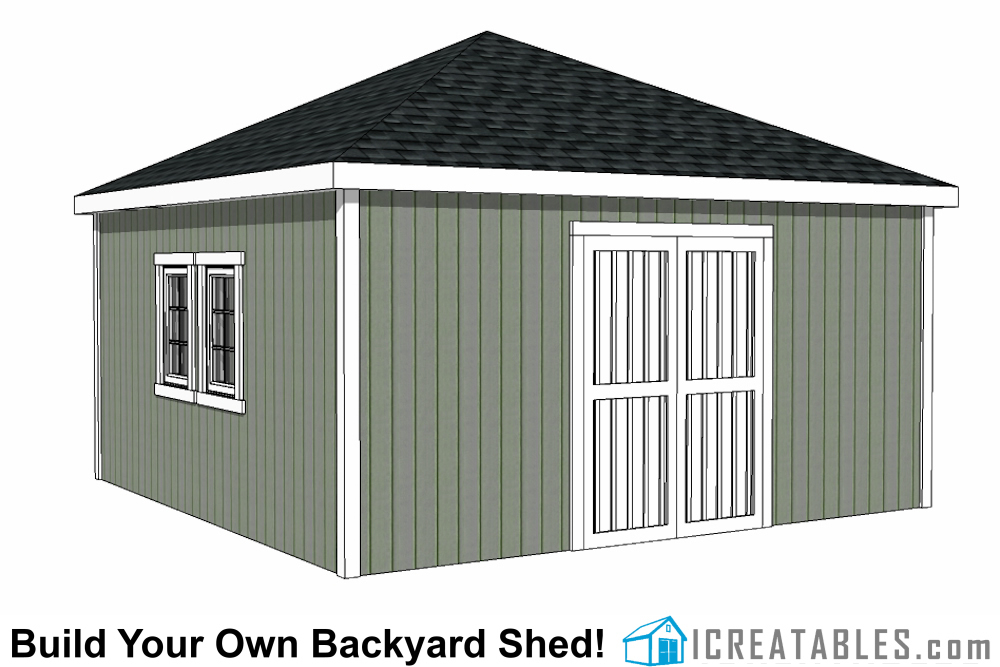
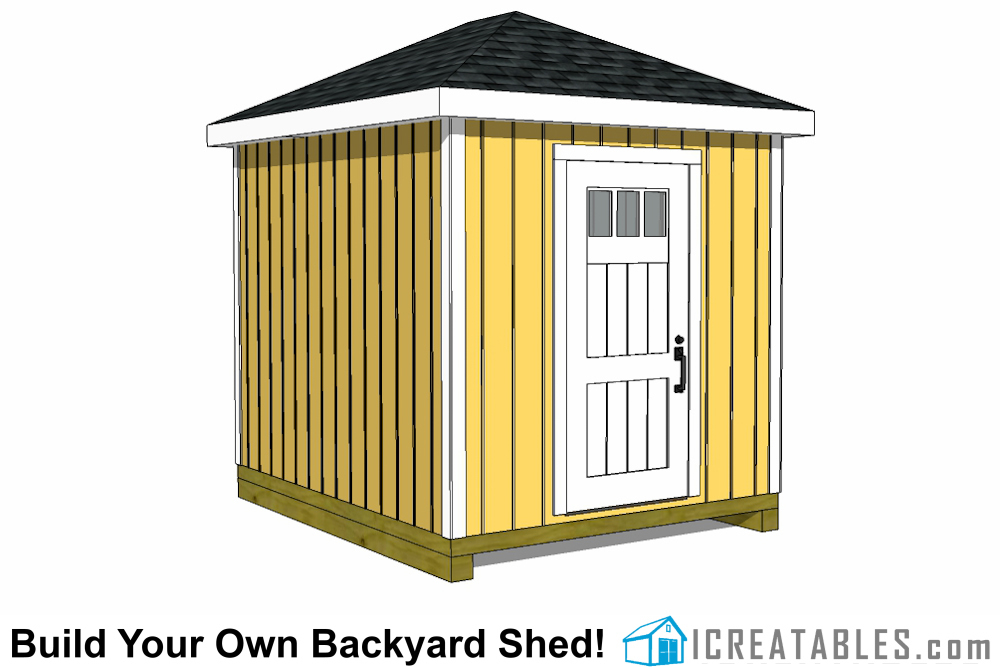
A hip roof add a certain beauty to a backyard shed. A hip roof is defined as a roof that has all the sides sloping down to the walls.So the ends of the shed roof look like the sides. Without the gable ends protruding up it gives the roof a softer feel.
Hip Roof Design
A hip roof on a shed must be "stick framed", meaning each rafter on the hips must be installed individually. Regular gable roofs can have the rafters or trusses assembled on the ground and then lifted into place. This make the hip roof a bit harder to build than the gable roof. But the hip roof has been built for hundreds of years and is a very solid roof.
The roof slope for most of our sheds is a 6 in 12 pitch. We use 2x6 boards so that the rafter tails have plenty of wood after the seat and birdsmouth cuts are made.
You will see on the plans that the actual hip rafters have a lower slope than the jack rafters and common rafters on the plans.
The roof on the hip roof shed designs is a bit tougher to build than our other shed roofs but if you are looking for a challenge and want to have the beauty of this roof style then this is a great shed building project that will provide a lot of satisfaction when you look at it an think "I built that".
How To Build A Hip Roof Shed
Build the Shed up to the top wall plates. After installing the wall plates on the shed walls you will build the shed roof by completing the following steps:
Our shed plans utilize a Terminal Hip Roof Framing Design. This type of roof framing means that the hip rafters rest on the first regular truss.
This drawing shows the different types of raftes used to frame a hip roof.
Steps To Framing a Hip Roof:
Step 1: Build the Terminal Rafter and install on top plates.
Measure half the width of the shed back from the end of the shed and mark the top plate. This is the center line of the Terminal Rafter. Set the Terminal rafter on the top plates and attach it to the plates.
Measure from this point 24" on center along the wall top plates and mark the center lines of the rest of the rafters. You can move the marks over 3/4" to make them easier to see once you set the rafters on.
Step 2: Install the Common Rafter that goes between the hips.
The common rafter taht goes between the two hips is the same as the other common hips. It is installed to help hold up the Terminal rafter and make it easier to install the hip rafters.
Step 3: Install the Hip Rafters.
The two hip rafters are now installed. Check the top edge of the hip rafters to make sure that they are the same height as the common rafter that was installed.
You can do this by using a straight board laid from hip rafter to hip rafter and verifying that the common rafter is not too high or too low. It should be 1/4" or less.
Step 4: Attach the Jack Rafters to the Hip Rafters.
Now cut out the Jack Rafters and install them between the hip rafters and the top plate. You will need to measure perpendicular to the Center Common Rafter over 24" and put a mark on the hip rafter to know where the center line of the top of the jack rafter will sit on the Hip rafter.
Use straight board laid perpendicular to rafters to check that top edge of rafters are flush with each other when installing each rafter to ensure that roof is flat.
Step 5: Install the Shed Hip System On The Opposite End.
Install the Terminal Rafter and Hip/Jack rafters on the opposite end ot the shed following the same process as you did with the first end of the shed.
Step 6: Install the Common Rafters
Install the Common Trusses/Rafters between the two shed ends. Make sure that the layout is 2'-0" on center
Step 7: Install fascia boards.
Check that the ends of the rafers are close to the same length +- 1/4" and then install the fascia board.
related articles
How To Build A Shed describes the steps to building a shed
Check out our Building A Shed Shed Building Videos

 8x8 Hip Roof Shed Plans
 8x10 Hip Roof Shed Plans
 8x16 Hip Roof Shed Plans
 10x12 Hip Roof Shed
Plans
  10x12 Garage Door Hip Roof Shed
Plans
 10x16 Hip Roof Shed
Plans
  10x20 Hip Roof Shed
Plans
 12x12 Hip Roof Shed Plans
 12x16 Hip Roof Shed
Plans
 14x14 Hip Roof Shed Plans
 10x10 5 Sided Corner Shed Plans
 8x8 5 Sided Corner Shed
Plans
 12x12 5 Sided Corner Shed Plans
 120 s.f. Sided Corner Shed Plans