SHOP BY STYLES
Backyard Shed Plans Barn Shed Plans Chicken Coop Plans Compost bin Plans Corner Shed Plans Detached Garage Plans Dog Kennel Plans Dormer Shed Plans Firewood Shed Plans Garage Shed Plans Garden Shed Plans Generator Shed Plans Greenhouse Shed Plans Hip Roof Shed Plans Horse Barn Plans Large Shed Plans Lean To Shed Plans Loft Shed Plans Low Income Housing Plans Metric Garden Sheds Modern Shed Plans Porch Shed Plans Run In Shed Plans Saltbox Shed Plans School Bus Shelter She Shed Plans Short Shed Plans Tiny House PlansSHOP SIZES
4x8 Shed Plans 4x10 Shed Plans 4x12 Shed Plans 6x6 Shed Plans 6x8 Shed Plans 6x10 Shed Plans 6x12 Shed Plans 8x8 Shed Plans 8x10 Shed Plans 8x12 Shed Plans 8x14 Shed Plans 8x16 Shed Plans 8x20 Shed Plans 10x10 Shed Plans 10x12 Shed Plans 10x14 Shed Plans 10x16 Shed Plans 10x18 Shed Plans 10x20 Shed Plans 10x24 Shed Plans 12x12 Shed Plans 12x14 Shed Plans 12x16 Shed Plans 12x18 Shed Plans 12x20 Shed Plans 12x24 Shed Plans 14x14 Shed Plans 14x16 Shed Plans 14x20 Shed Plans 14x24 Shed Plans 16x16 Shed Plans 16x20 Shed Plans 16x24 Shed Plans 24x24 Garage PlansSHED BUILDING VIDEOS
All Shed Building Videos Backyard Gable Shed Videos Lean To Shed VideosSHED IMPROVEMENT HOW TOO'S
Learn about Concrete, Electrical, Framing, Codes, Roofing, Solar and more!MORE SHED PAGES
Lean To Shed Ideas Office Shed Convert Shed Design Building A Shed How To Build A Home Shed Door Plans Build A Shed Ramp Eagle Scout Shed PlansLean To Shed Plans
3' Deep Lean To Shed Plans
5' Deep Storage Shed
6' Deep Storage Shed
Lean To With No Walls Plans
7' Deep Lean To Shed Plans
8' Deep Lean To Shed Plans
View A Video With Lean To Sheds Designs Built From Our Shed Plans
10' Deep Lean To Shed Plans
12' Deep Lean To Shed Plans
14' Deep Lean To Shed Plans
16' Deep Lean To Shed Plans
Studio | Office | Modern | Firewood Shed
BUILDING THE LEAN TO SHED
Step by step instructions to build the 4x8 lean to shed! You can see more details about building the different parts of the shed by visiting our How To Build A Shed Tutorials and Videos here.

ABOUT THIS PROJECT
This shed building project is very similar to all of our lean to sheds. The only major difference is the size. All the steps shown below will be used to build all of our lean to sheds.
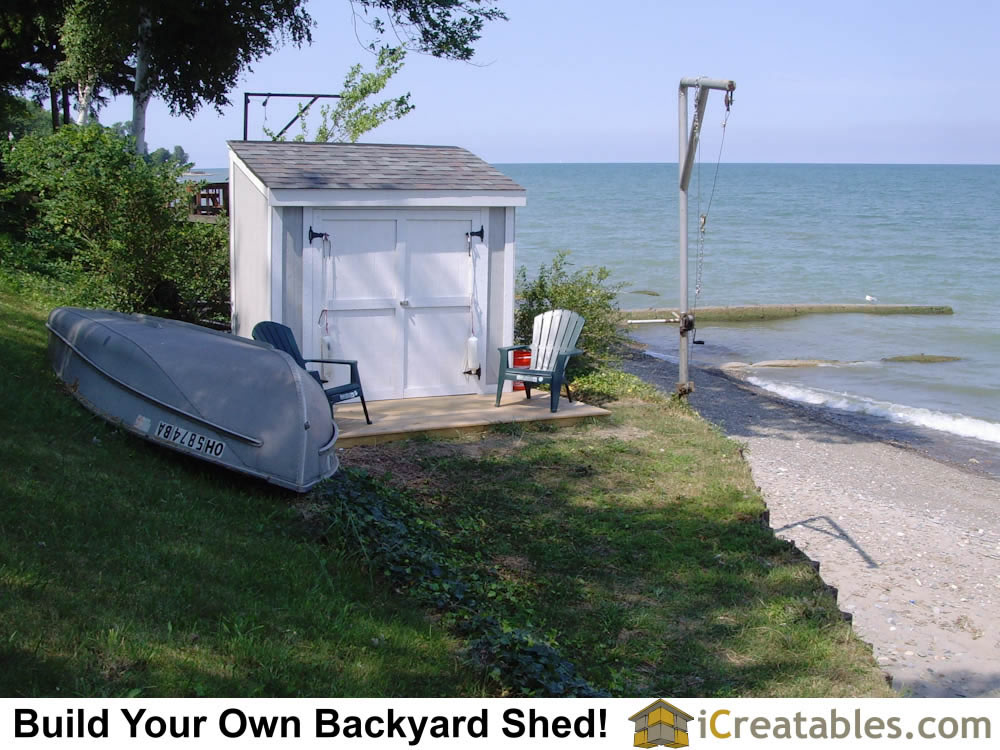
The 4x8 lean to shed is one of our most popular shed sizes and styles. It is the perfect sized storage closet for yard and garden tools. It will even fit a lawn mower which can easily fit inside thanks to the large 5' wide double doors.
This lean to shed was built by one of our shed builders who was kind enough to send us a bunch of great pictures of every step he used to build the shed.
We thought we would share the project with you to give you ideas about your shed build and teach you how to build a lean to shed!

Shed materials, especially 4x8 sheets of floor decking, roof sheeting and grooved siding are large. If you do not have a truck or trailer to haul them you can always rent a truck to bring the materials home. Most lumber yards offer delivery too.

It does not look like much lumber in the van.
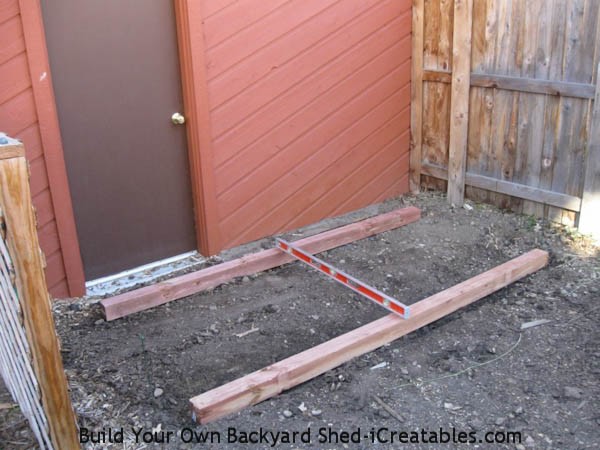
Start by leveling the ground and then setting the redwood or treated skids. Use a level and tape measure to get the skids level with each other and square.

The floor framing is set directly on top of the wood foundation skids. The floor joists are spaced at 16 inches on center to make the floor strong. Our 4x8 shed designs use 2x6 lumber for the floor framing to make the floor strong and rigid.

A 4x8x3/4" piece of Oriented Strand Board, O.S.B., fits perfectly for the 4x8 shed floor. With a 4x8 shed you do not need to use tongue and groove floor decking because there is only one piece and it does not connect to other pieces.

The rear wall is the first to be framed. With smaller sheds it is usually easier to build the walls on a large flat surface like a driveway or garage floor. But if you want you can build it on the shed floor! You can view a How to frame walls tutorial here.

The end walls are a little easier to build on the shed floor!
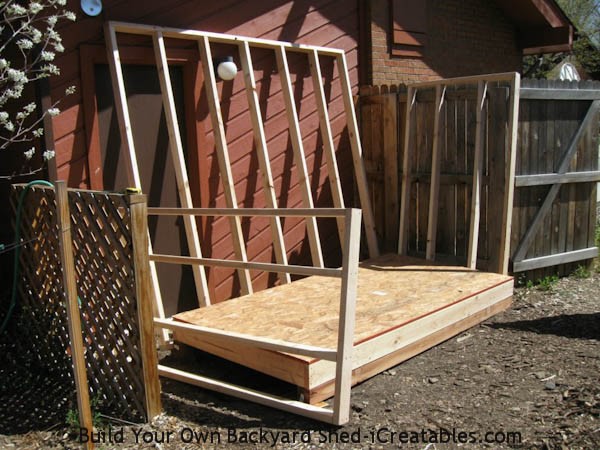
The walls are ready to stand and attach to the shed floor.

Start by standing the rear wall first and then stand and attach the side walls. The front wall is installed last.

Standing the front wall. Our design puts the header up against the wall top plates so there is no need to add additional blocking above the header. The door fits perfectly under the header. You can see how the double top plate on the end walls overlaps the front wall top plates to tie them together. The rear wall is secured to the end walls by nailing the end walls to the rear wall and then nailing on both sides of the siding overlap from the side walls to the rear wall.

The design of our lean to shed uses 3 walls that are the same height. The rafter spans from the lower wall to the taller wall. The end walls do not need to be angled with the rafters. The siding should be installed before the rafters are installed to make it easier to square up the walls.
The builder used boards angled to the ground to hold the shed square. This does not need to be done if the siding is installed before the rafters are installed.

Another view of the roof rafter sitting on the wall top plates.

Close up of the rafter seat sitting on the top plates. The clips are not necessary for smaller sheds with a small roof area. Building codes specify using 3-8d nails at each rafter end to attach the rafter to the top plates.

The siding on the end walls will cover the opening betwen the rafter and the wall top plates just like it covers the openings between the wall studs.

The fascia board is attached to all the rafter ends. It will hold the roof sheeting edge and provide a backing for the exterior trim. Make sure that the top of the fascia board does not sit above the plane line of the top of the rafters.

Roof sheeting is installed on top of the roof rafters. This shed has a narrow rake detail on the end rake walls so the sheeting stops at the siding

The front and rear overhangs of the shed help keep the water dripping. The overhang of the roof sheeting is typically held flush with the face of the fascia and end rafters and the trim boards are installed with the tops flush with the top of the roof sheeting.
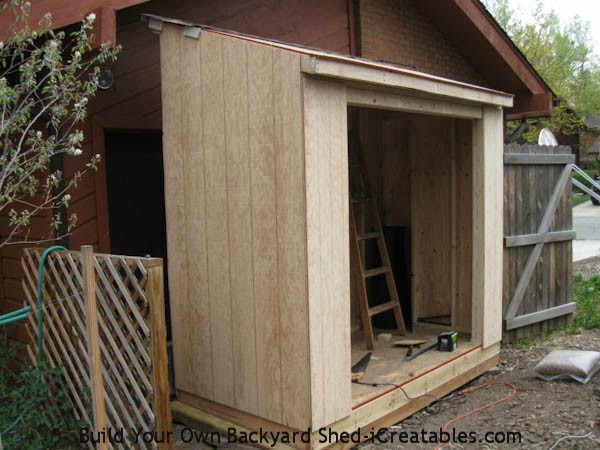
Front wall siding is installed around the door. Our door plan calls for the siding to be held back from the door opening 1 1/4" to allow the door face to overlap the door framing.

The trim is installed on the fascia first to allow the roofing to be installed over it. The corner trim is installed after the roof eves and rake walls fascia. The corner trim butts up against the bottom of the fascia boards.

The roofing is installed using asphalt shingles. Check out our How To Install Asphalt Shingles Tutorial. It shows all the steps to install roofing on your shed. We also have a video that shows every step to installing asphalt shingles.

This is the shed before the doors were installed. It was painted before the doors were installed.

The door rear panel and inner sandwich construction frame. This type of door construction makes the door very rigid. The sandwich construction technique keeps the door from warping.

The front of the door uses the same T1-11 siding plywood that is used on the rest of the shed. The trim matches the rest of the shed and provides a solid base for the door hinges to attach to. This is the door that stays closed using the spring bolt latch. You can see the door stop for the other door.

This is the main operable shed door. The left side of this door will overlap the door stop that sticks out on the side of the other door to provide a solid stop for the door.

Hanging the doors is done by:
- Putting a shim on the shed floor that is the same thickness as the reveal around the door and then resting the door on it.
- Set the door on the shim
- Make the reveal around the door even on all sides.
- Attach the hinges to the door and the trim on the shed.
- Tip: Make sure to angle the screws to hit the inner door frame and the door trimmer when necessary.
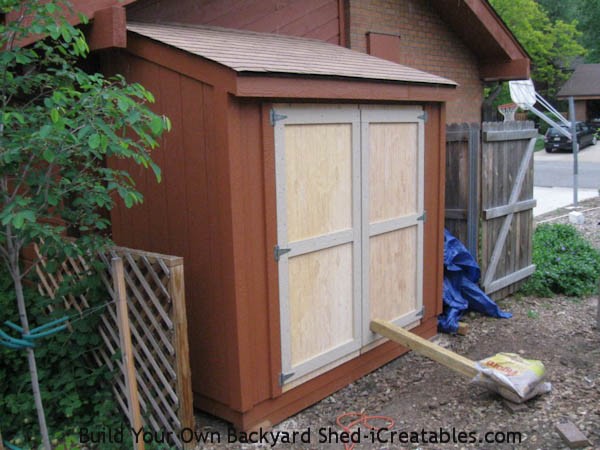
This is what the shed looks like with both doors hung. The door locking hardware has not yet been installed. The left hand door will get a spring bolt latch on the top and bottom on the inside of the door. The right side door is the one that opens and closes when you just want to reach in and grab something. It will get a locking latch.

Painting the shed floor makes the floor easier to clean and gives the shed a clean looking interior.

The finished lean to shed. Ready to be stocked with yard and garden tools.
Storing Stuff in a Lean To Shed:
The lean to shed is the perfect solution for storing things. It is simple to build and very functional. The single plane sloping roof allows you to build next to a fence and have the roof line at the top of the fence level or next to your house and have the entire roof sloping away from the house keeping moisture away from the house. Our lean to sheds can be build immediately next to an existing structure with the roof sloping away.
They can also be build attached to an adjacent structure and have the tall wall removed. You can email us for details showing the connection of the lean to shed to an existing wall. You should also check with a local structural engineer to make sure that the wall you are attaching the lean to shed roof to is sufficiently strong to hold the new roof.
The roof is easy to build because each rafter is one board that slopes from one side of the shed to the other. Is all you need to do is cut a birdsmouth on each end of the rafter so it can sit flat on the top of the shed wall and cut the rafter ends so they are vertical and your rafter is ready to install on the wall plates.
Lean To Shed Plans
The lean to shed style is one of our most popular designs. Our plans are designed to aid both the beginning builder and the seasoned professional to successfully build a lean to shed. Our plans show detailed information like the location of every board in all the shed walls and shed floor. By using the shed plans and the How To Build a Shed instructions together you will have the informational resources you need to plan, determine costs, and build your shed.
You can view an example of the type of information shown on our plans by viewing our shed plans example page.
Every set of plans comes with How To Build A Shed eBook that walks you through the steps cutting and installing the roof rafters for a lean to shed roof. It also covers all the other aspects of shed building like framing the shed floor, framing the shed walls, installing siding and installing trim.
Lean To Shed Doors:
Most of our designs allow you to build the lean to storage shed with doors on any of the 4 walls. This allows you to orient the sloping roof and the foot print of the shed in the best way for your needs. Lean to sheds are often built on the side of a home with the shed roof sloping away from the house. In this configuration placing the door on the end of the shed allows you to easily access the shed while still using all available space between the house and fence.
Our larger lean to sheds, 8x8 and larger, come with the option of a home built door or a pre-hung door. The plans are included for the home built door and materials list. Pre-hung doors are available from local home stores, lumber yards or door shops. You can have a door built with options like deadbolts, different jamb thicknesses, door threshold and swing direction. A pre-hung door for your shed also gives you the option of having a door style that is hard to build at home.
Lean To Shed Roof:
The larger lean to sheds us a roof slope of 2 in 12. This keeps the slope of the roof lower and material costs down. You can use either asphalt shingles or metal roofing. When using asphalt shingles you will need to check with your roofing manufacturers specifications to verify the process for installing shingles on a low slope roof. The most common solution is to install a 36 inch wide roll roofing or Ice and Water shield before the shingles are installed. When installing metal roofs you will need to use a metal roof shape that is called PBR. It is a 36 inch wide metal that is designed to be installed on low slope roofs. You can order it cut to the lenght needed for your shed roof from a local roofing supplier, home store or lumber yard that sales metal roofing supplies.
Modern Office or Studio:
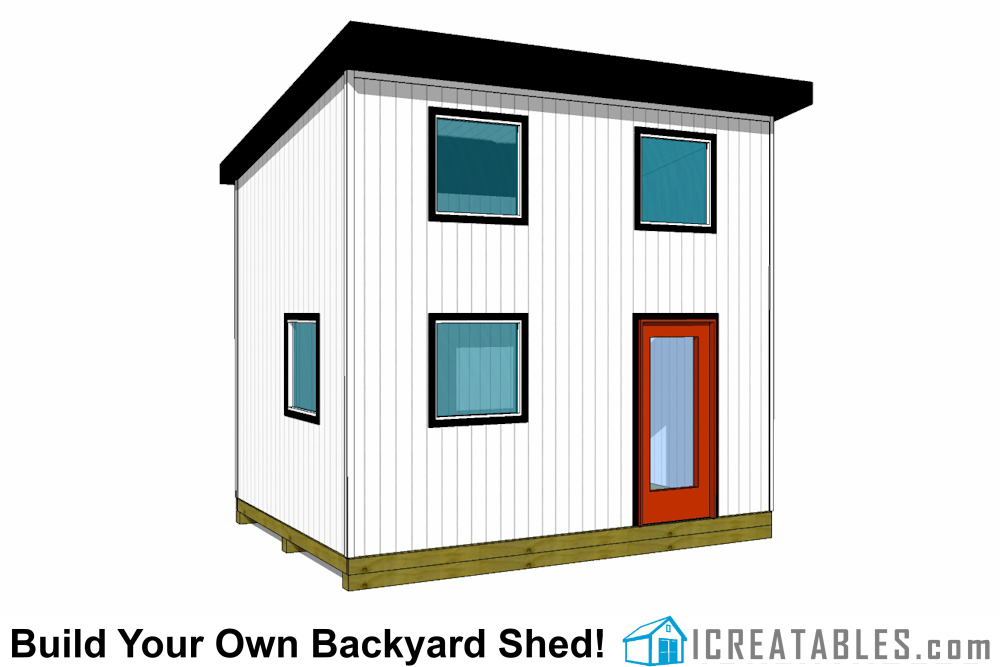
Many times when building a home office or studio you might want a plan that is contemporary looking to give you a more professional atmosphere. The single plane roof creates a contemporary or modern looking space. The clean lines of the single sloping roof and addition of windows to bring natural light inside make the lean to style of shed perfect for creating a home office. View our complete modern shed plan library.
Having a home office or studio is a great way to shorten your commute to work and reduce the cost of renting office space. All of our modern sheds use the basic lean to design. With the addition of windows, upgraded siding and pre hung doors you can transform the out side of your lean to shed into a first class work space.
Firewood Shed Plans storage:
The lean to style of shed is popular for storing firewood. Using open walls allows air to flow around the wood, seasoning it so it is ready for burning. The roof sloping away from the front opening keeps moisture and piles of snow away from the main firewood access.
Horse Barn:
The lean to works well to provide protection from horses while still allowing them to move freely in and out of the covered area. Using the lean to design on the farm is popular because it is often built on the side of a raised center aisle barn or on the front of horse Run In Sheds to provide additional covered space. The lean to shed design is also one of the least expensive ways to add additional covered space to protect livestock, feed and equipment.
Pick Your Plan and Start Building Your Backyard Lean To Shed Today!
With so many shed sizes to choose from it may be hard to decide on just one. The size and style you end up building will be affected by your local zoning requirements, storage needs, how much space you have to build on and your budget. After considering these items separately and together you will have a good idea of the style and size you need to build.


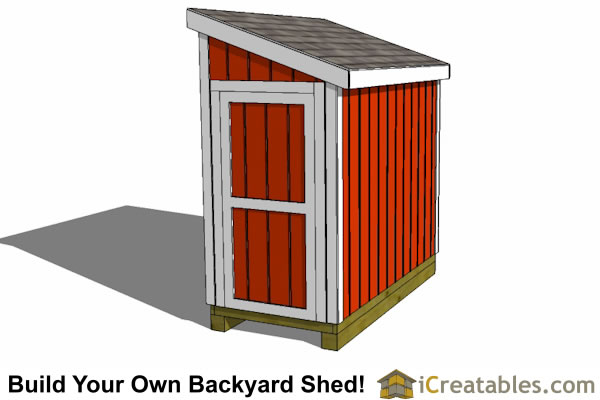

 4x8 Lean To Shed with Under 6 foot overall height
 4'x8' Short Wall Lean To
 4'x4' With 3' Single Door
 4'x6' Lean To Shed Plan


 4x20 Lean To Shed Plans
 3'x8' Lean To Shed Plans
 3'x8' Lean To Shed Short. 7'-9" Under 8' Tall
 3'x10' With 3 Door options
 3'-6"x8'-0" Lean To Shed Plans
 5'x6' Includes plans for doors on side and end
 5'x7' Large Generator Enclosure Plans
 5'x8' With Optional End Door
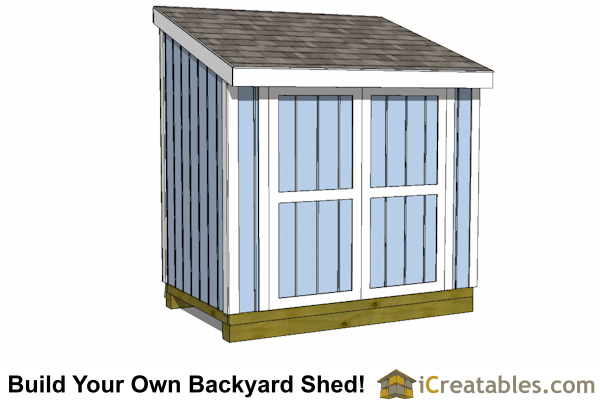 5'x9' With Optional End Door
 5'x10' With Optional End and Tall Side Door
 5'x12' With Optional End Door
 5x12 Lean To Shed With Less than 6' Height- Short Shed.
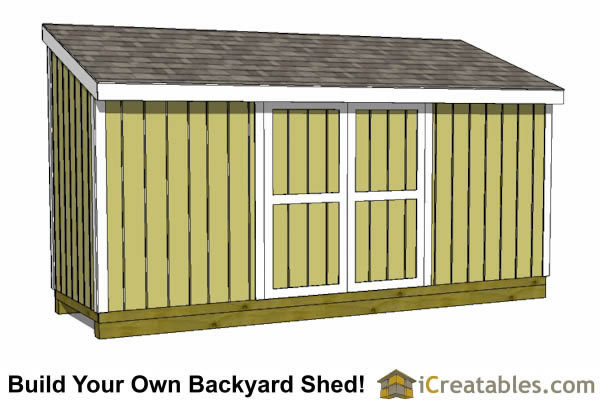 5'x14' With Optional End Door
 5'x16' With Optional End Door
 6'x6' With 4' Door
 6'x8' With 6' Double Doors
 6'x8' Lean To Shed With Short Walls
 6'x10' Lean To Shed Plans
 6'x12' With Two 4' Doors
 6'x14' Lean To Shed
 6'x20' With Pre-hung doors
 6'x12' Lean To Shed Plans
 8x16 Lean To Open Walls Shed
 12x10 Lean To Open Walls Shed


 8x14
8x14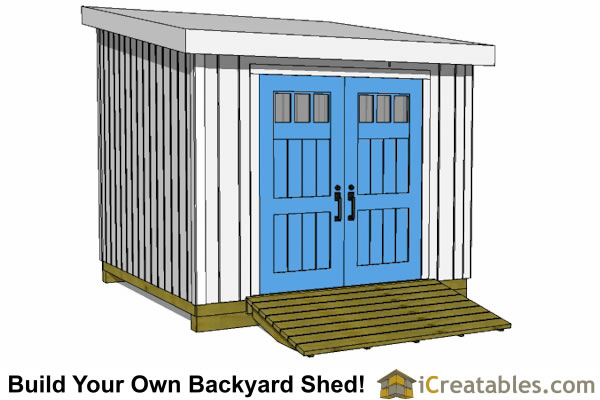





 12'x20' Lean To Shed Plans
 12'x24' Lean To Shed Plans
 14'x20' Lean To Shed Plans
 14'x28' Lean To Shed Plans
 14'x14' Lean To Garage Door Shed Plans
 16'x20' Lean To Shed Plans
 16'x24' Lean To Shed Plans
 16'x32' Lean To Shed Plans
 Check out our modern and studio plan library
 12x16 Run In Shed for Horses